Tensioning Bolts
Tensioning bolts are critical components in maintaining optimal screen cloth performance. Properly tensioned screens ensure consistent material separation, minimize blinding and pegging, and extend the operational life of both the screen panels and supporting structure.
Importance, Guidelines & Maintenance
Tensioning bolts play a vital role in the proper installation and performance of screening media. Whether you’re using woven wire, polyurethane panels, or perforated plate, maintaining correct screen tension ensures safe operation, efficient screening, and long service life.
Why Tensioning Matters:
- Prevents screen sagging and vibration fatigue
- Ensures uniform material flow and screen accuracy
- Reduces premature wear and tear
- Minimizes screen movement and noise
- Prevents damage to surrounding components (e.g., side rails, camber bars)
Pro Tips for Tensioning Bolts
These best practices will help extend the life of your screen media and ensure safe, efficient operation:
-
-
Use noising rubber or protective strips between the camber bar and the screen’s hook edge. This cushions the contact point, reduces metal-on-metal wear, and minimizes vibration noise.
-
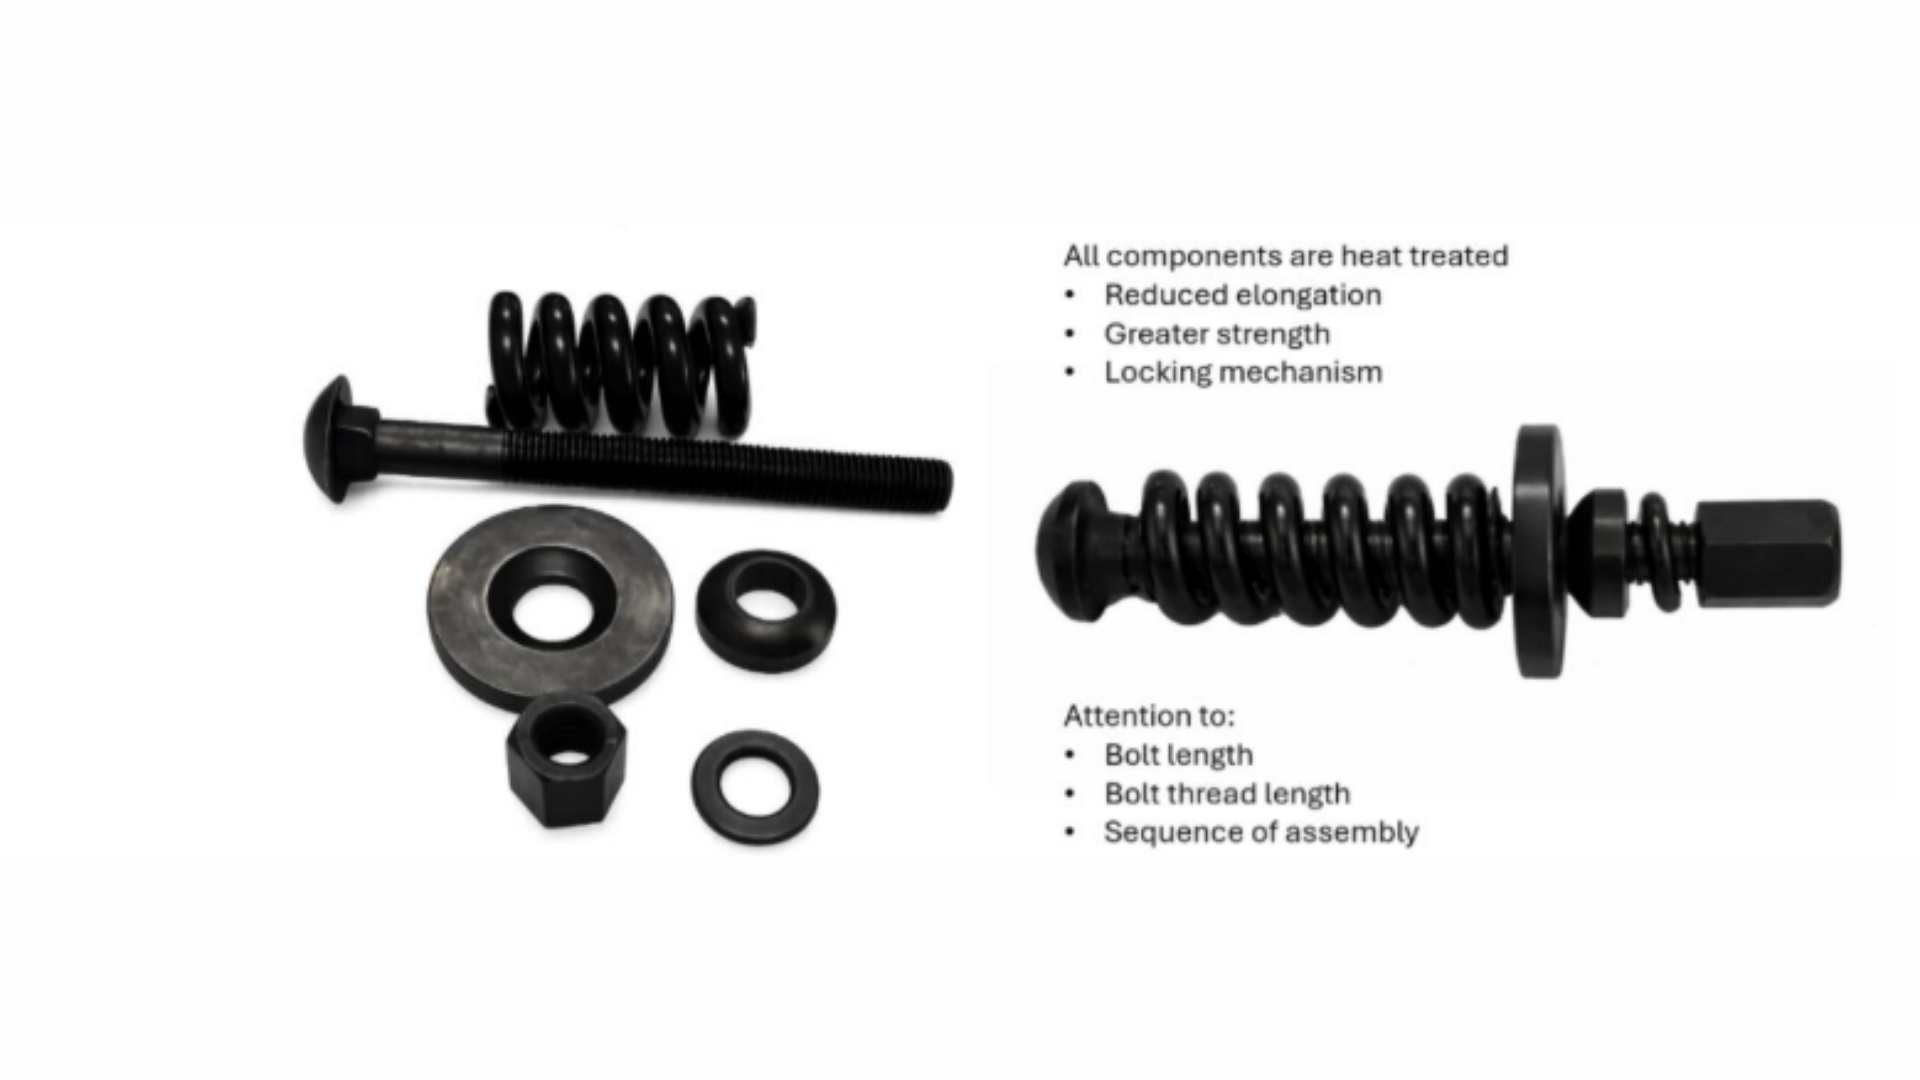
Inspect bolts for stretching or thread wear during every screen change or tensioning session. Damaged bolts can’t hold proper torque and may work loose over time.
-
Apply anti-seize lubricant to the bolt threads before installation—especially in high-vibration or outdoor environments. This prevents galling, corrosion, and allows for easier removal during maintenance.
-
Use lock washers or self-locking nuts where possible to reduce the risk of bolts vibrating loose during operation.
-
Replace clamping bars that show deformation or wear—a warped or damaged clamp will apply uneven pressure and may damage screen hooks or allow the panel to shift.
-
Always tighten bolts in at least two passes: first hand-tight, then to final torque. This prevents sudden pressure imbalances that can twist or bow the screen panel.
-
After one hour of runtime following installation, shut down and recheck all bolts. The screen cloth often settles slightly under vibration, and retensioning ensures long-term hold.
-
Keep a consistent torque wrench on hand and verify torque values per manufacturer specs, especially when working with varying panel materials (e.g., wire mesh vs. PU).
-
Best Practices for Tensioning Screen Cloths:
Neglecting correct bolt tension can lead to:
-
Tearing or premature wear of screen media
-
Structural fatigue in the screen box or side supports
-
Inconsistent product sizing and throughput loss
-
Safety hazards due to loose components
-
Increased downtime and maintenance costs
Risks of Improper Tensioning
-
Initial Setup:
Measure the hooked edge length correctly—typically, the inside dimension of the screen box minus 40 mm (20 mm clearance on each side). -
Proper Engagement:
Make sure all clamping bars are fully seated into the hooked edges and that they clear any sheet metal lips to prevent pinching or misalignment. -
Torque and Sequence:
Tighten bolts in a crisscross pattern (like wheel lugs) to ensure even tension distribution. Avoid overtightening, which can stretch or damage the screen. -
Re-Tension After Run-In:
Recheck and re-tension bolts approximately 1 hour after initial startup. During this period, wires will settle into the pre-crimped form, often reducing initial tension. -
Routine Maintenance:
Include tension checks as part of regular inspection routines. Loose bolts can lead to screen chatter, accelerated wear, or panel failure. -
Noise Protection:
Use noising rubber or protective buffers over camber bars and support frames to reduce metal-on-metal wear and eliminate vibration-related damage.